LEGO Sorting for RBBL Builders
Sorting LEGO in stages
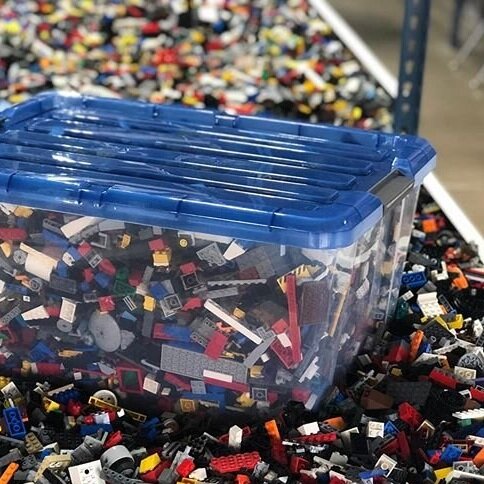
Sorting LEGO can be a daunting and seemingly insurmountable task, but giving back even a portion of a parent’s sanity and providing your kids (and yourselves) a healthy, creative outlet is absolutely worth it. Sorting can even be enjoyable once you know what to do and can see the fruits of your labors. Below are some basic tips you can follow to help get that big tub of LEGO under control. Don’t feel like you have do everything. This is not a one-size-fits-all guide to sorting. It all depends on how you like to build, what space you’re working with, and what your overall goals are.
Pull all the Bricks and Plates
Bricks and Plates take up the majority of the bulk in a LEGO collection. They’re also very easy to pick through once you have them separated from the other parts.
Plates are the thin 1x1 to 16x16 parts with studs on top. In their regular form (not modified) they have smooth sides and no other hinges or clips.
Bricks are thicker pieces that is at least 3 plates tall and have smooth sides with studs on the top. They range from 1x1 to 1x16, 2x2 to 2x12, even 12x24, and up to 5 bricks (15 plates) high.
You’ll want to separate the plates from the bricks in large, clear, shallow tubs. The more rummaging you do in your LEGO, the more they get scratched up, so pick a tub that lets you see as much as possible.
If you want to go further at this stage, I like to keep my 1x1, 1x2, and 1x3 plates and bricks separate from the larger ones. You can also easily stack your parts to avoid scratching, just be sure to offset your plates as you stack so they don’t get stuck together.

Save those Minifigures and Trees
Kids, and adults, can get very creative with Minifigures. Because they are so fun, they are often the most sought after and expensive LEGO parts out there.
Whenever you’re sorting, pull any heads, torsos, legs, headgear, hair, and accessories that you see. I like to sort them by theme since that’s how they’re usually played with, but it’s also a lot of fun to mix and match from all the themes.
You can easily divide them further into heads, torsos, legs, etc. so a tackle box or sorting tray may be the best type of container. If you have favorites, keep them on top, standing on plates so they’re always easy to find.
Vegetation Pieces are often rare and more expensive, as well. A shoebox-size tub or smaller should be able to hold all the leaves, grass, and flowers that you might have, and it’s great to have them together to finish out a build.

Pull Specialty Pieces
No matter what you build, you’ll likely need a stash of some key parts. You’ll want to have smaller, clear, shoe-box-size tubs for each of these.
Clips & Bars are usually used together and you’ll often need more than one set of the same color. These are typically modified plates (but they also come in brick form) with a “C” shaped appendage or a bar that fits into the “C.”
SNOT Bricks are bricks (or sometimes plates) with Studs that are Not On Top (SNOT). These are incredibly useful in building complex structures and adding fun details to a build.
Brackets are similar to SNOT Bricks, but they hold the side-ways studs a little further out. You can mix these in with the SNOT Bricks, since they preform a similar function, but having them separated is usually helpful.
Tiles, or plates with smooth tops and no studs, are not terribly bulky or hard to find, but it’s nice to separate them so they don’t get too scratched up. You can also add Jumpers to this bin or go further and separate out the stickered and printed tiles.

Sorting by Function, not just Color
Those tubs do look pretty when they’re sorted by color, BUT there are good and bad ways to sort by color. Remember that you want builders to build, and sorting through a large tub of black parts to find one small black piece can be frustrating, and quickly turn building into a chore.
That doesn’t mean you should never sort by color. Building an orange spaceship? You’ll want all of your orange parts at hand without opening 20 different bins and drawers. Need a landscape? Brown, tan, green and all of your earth-tone plates and slopes can be in a small tub waiting for you. Small grey parts are great for detailing and space interiors. White parts are great for Architectural builds.
You can also mix colors that usually go together. A helpful option is to sort bins by complimentary colors (or colors that you know that know you’re going to be building together with), so that pieces are easier to distinguish and all of your building materials are in one place!
Once you figure out what parts would be best sorted by color, grab some mason jars and/or other glass jars* from around the house. It’s a great, cheap way to display your favorite colors and make your build space look brighter.
*Stick to plastic if you have younger kids that could reach the glass.